

Cart
0
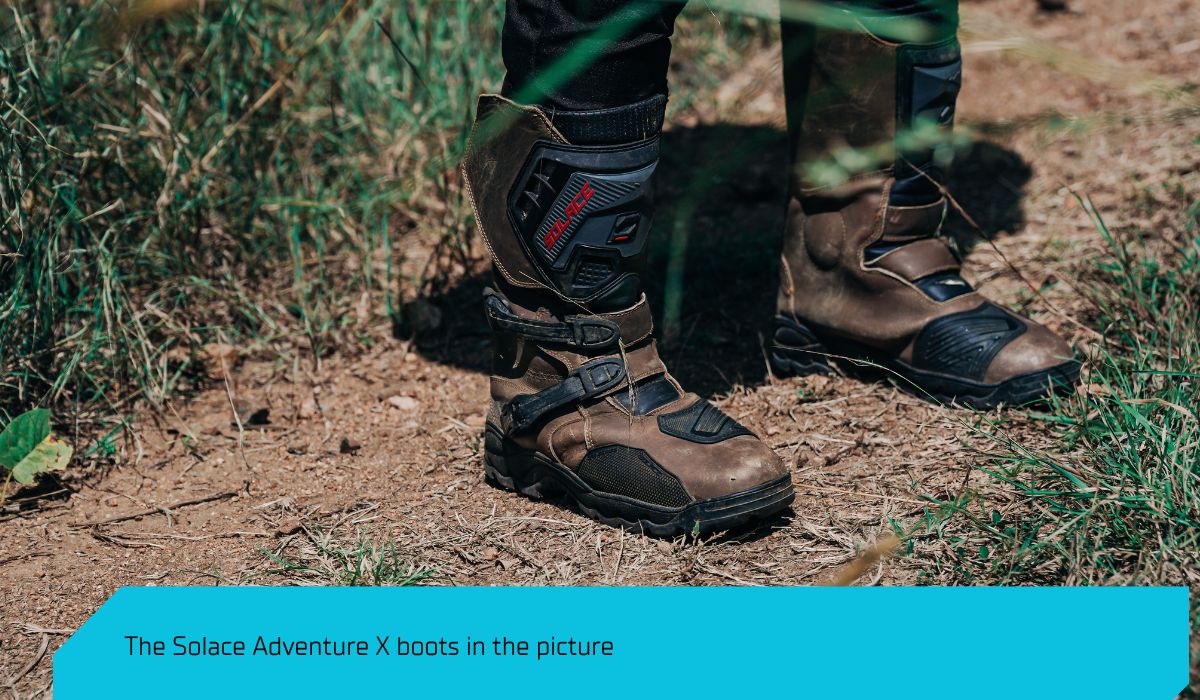
Riding boots are the most skipped piece of gear for new riders. They're also the piece most riders regret skipping after their first fall.
Your feet and ankles are in a uniquely vulnerable position on a motorcycle. They're close to the ground, they can be pinned under the bike in a crash, and the ankle joint has almost no natural resistance to twisting under sudden load. Regular shoes — even chunky sneakers — offer almost no protection against any of this.
This beginner’s guide keeps it short. Here's what you need to know.
What Riding Boots Actually Protect Against
A motorcycle crash can stress your feet and ankles in three ways:
Abrasion — If your foot slides on the road, the sole and upper need to hold together long enough to protect your skin and bones underneath.
Impact — Your toe, heel, and ankle can take direct hits — from the road, from the bike itself, or from objects on the road.
Twisting — The ankle is especially vulnerable to rolling or twisting under the weight of the bike in a fall. This is the injury most regular shoes completely fail to prevent.
Good riding boots address all three. Regular footwear addresses none of them meaningfully.
Part 1: Types of Riding Boots
Full Riding Boots
Full boots extend above the ankle — usually to mid-calf. They offer the most coverage and the best protection across abrasion, impact, and ankle support.
The tradeoff is practicality. Full boots aren't easy to walk around in off the bike, and they're harder to wear if you're commuting and need to arrive looking professional.
If you ride an adventure bike, do highway touring, or prioritize protection above all else — full boots are the right call.
Short Riding Boots
These boots usually cover the ankle, but do not extend much to the upward side. They offer a mix of practicality and safety but with the tradeoff of having lesser torsional safety.
Riding Shoes
Riding shoes look close to regular sneakers or casual lace-ups but have protective features built in — ankle armour inserts, reinforced toe boxes, protective midsoles, and reinforced heel counter.
They're much more practical for daily use. You can ride to work, walk into a meeting, and ride home without changing footwear.
The honest tradeoff: they offer less coverage than full boots, particularly above the ankle. For city commuting and moderate riding, a quality pair of riding shoes worn every ride is the right balance. For long highway trips and rough terrain, full boots are worth the inconvenience.
The rule that matters most: the best boots are the ones you actually wear. A pair of full boots sitting at home while you ride in sneakers protects nobody.
-------------------------------------------------------------------------------
Part 2: CE Certification for Boots — EN 13634
The European standard for motorcycle boots is EN 13634. It tests four things, each rated at Level 1 or Level 2:
Zone A — Height of Upper indicates height of the upper.
Zone B — Impact Abrasion Resistance— protection against abrasion and tearing through the boot.
Zone C — Impact Cut Resistance — shows how well the boots can withstand sharp objects piercing through the upper material.
Zone D — Transverse Rigidity — this is the ankle roll protection. How well the boot resists the ankle twisting sideways under load.
A boot certified to EN 13634 will show ratings like 2 2 2 2 (all Level 2) or 1 2 1 1 depending on how each zone performed. When a brand says their boots are CE certified, ask for the zone breakdown — not all certified boots are equal.
Optional tests – These include SR (Slip Resistance for outer sole), WAD (Water absorption and desorption for inner insole), B rating (breathability) and WR (water resistance)
-------------------------------------------------------------------------------
Part 3: Construction — What Makes a Boot Protective
The Sole
The sole does more than grip the ground. A good riding boot sole has:
A shank — a rigid internal plate (steel, fibreglass, or composite) that runs through the midsole. It prevents the sole from bending or twisting under impact and adds significant torsional rigidity to the whole boot.
Oil and slip resistance — essential for grip on wet roads, petrol spills at fuel stations, and loose surfaces.
Heel cup — a reinforced heel that absorbs impact energy and prevents the heel from compressing in a rear impact.
The Upper
The upper is the body of the boot above the sole. Look for:
Abrasion-resistant materials — full-grain leather, microfibre, or technical textiles rated for abrasion. The toe, heel, and ankle areas are the highest priority zones.
Ankle protection inserts — hard or viscoelastic inserts on the inner and outer ankle. These prevent the ankle from being crushed or rolling in a crash. On quality boots they're visible as reinforced panels on either side of the ankle.
Toe box reinforcement — a rigid or semi-rigid toe cap protects against compression injuries if the bike falls onto your foot.
Closure System
How the boot closes matters for crash performance. Velcro, laces, buckles, and zip closures all have different trade-offs.
Laces can catch on foot pegs — avoid exposed laces unless they're fully covered by a flap. Buckles and zips are faster and more secure. Many touring boots use a combination of zip and velcro or buckle to balance security and convenience.
-------------------------------------------------------------------------------
Part 4: Waterproofing
For Indian riders, this is worth thinking about seriously.
Monsoon riding is a reality. Wet feet for hours is uncomfortable at best and a distraction at worst.
Many boots include a water resistant membrane — Gore-Tex is the gold standard, but proprietary membranes work well too. Water resistant boots cost more, but if you ride through the monsoon regularly, they're worth it. We at Solace use quality membranes like Sympatex amongst others.
If your budget doesn't stretch to waterproof boots, waterproof boot covers are an affordable backup that slip over any boot.
-------------------------------------------------------------------------------
Part 5: Fit — Get This Right
Riding boots should fit snugly with your riding socks on — not painfully tight, but with minimal movement of the foot inside the boot.
Key things to check:
-
No heel lift — your heel should not rise when you walk. Heel lift means the boot is too long and affects how the ankle protection sits relative to your joint.
-
Ankle inserts in the right place — the side inserts should sit directly over your ankle bone, not above or below it.
-
Toe room — enough room that your toes aren't compressed, but not so much that your foot slides forward on braking.
Walk around in them. Flex your foot as if working foot pegs. Twist your ankle slightly — you should feel the boot resisting, not giving way.

Quick Reference: What to Check
Certification
-
EN 13634 certified?
Construction
-
Shank in the sole?
-
Ankle inserts on both sides? More importantly on the outer side.
-
Reinforced toe box?
Practical
-
Full boot or riding shoe — which will you actually wear every ride?
-
Waterproofing needed for your conditions?
-
Secure closure with no exposed laces?
The Bottom Line
Ankle injuries from motorcycle crashes are common, often serious, and largely preventable with the right footwear. The ankle has no natural defence against the forces involved in even a low-speed fall — the boot has to do that job.
Buy boots with the same intention you bring to buying a helmet. They're not an accessory. They're armor for the part of your body that's closest to the ground.
Solace Gear — riding gear built for Indian roads.

